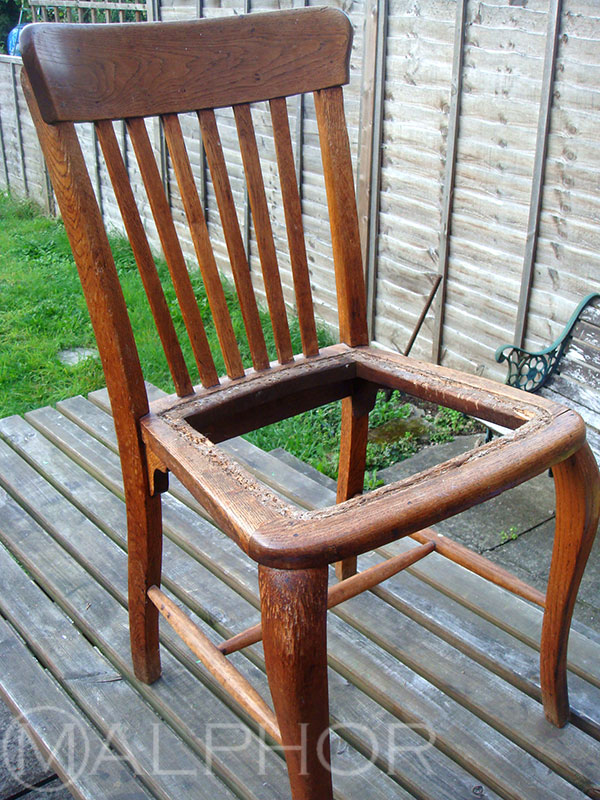
By the state of the wood round the edges of this chair, I guess it used to be caned, and then was upholstered using nails, which really left the wood worse for wear. So much so that nails wouldn't stay put and at the time, I didn't have my super awesome compressed air stapler, so in a corner the chair sat.
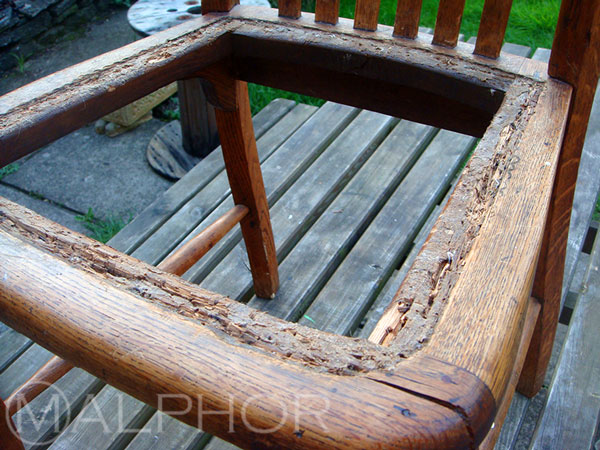
But I am now armed and dangerous and after strengthening the wood with some filler, trigger happy I go, fixing webbing, calico and top cover on.
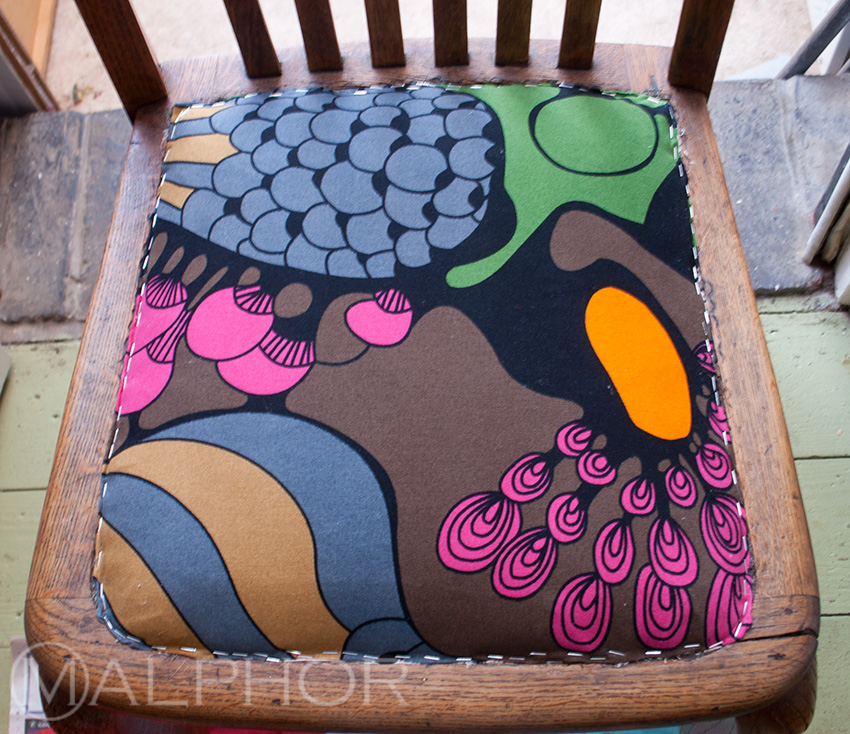
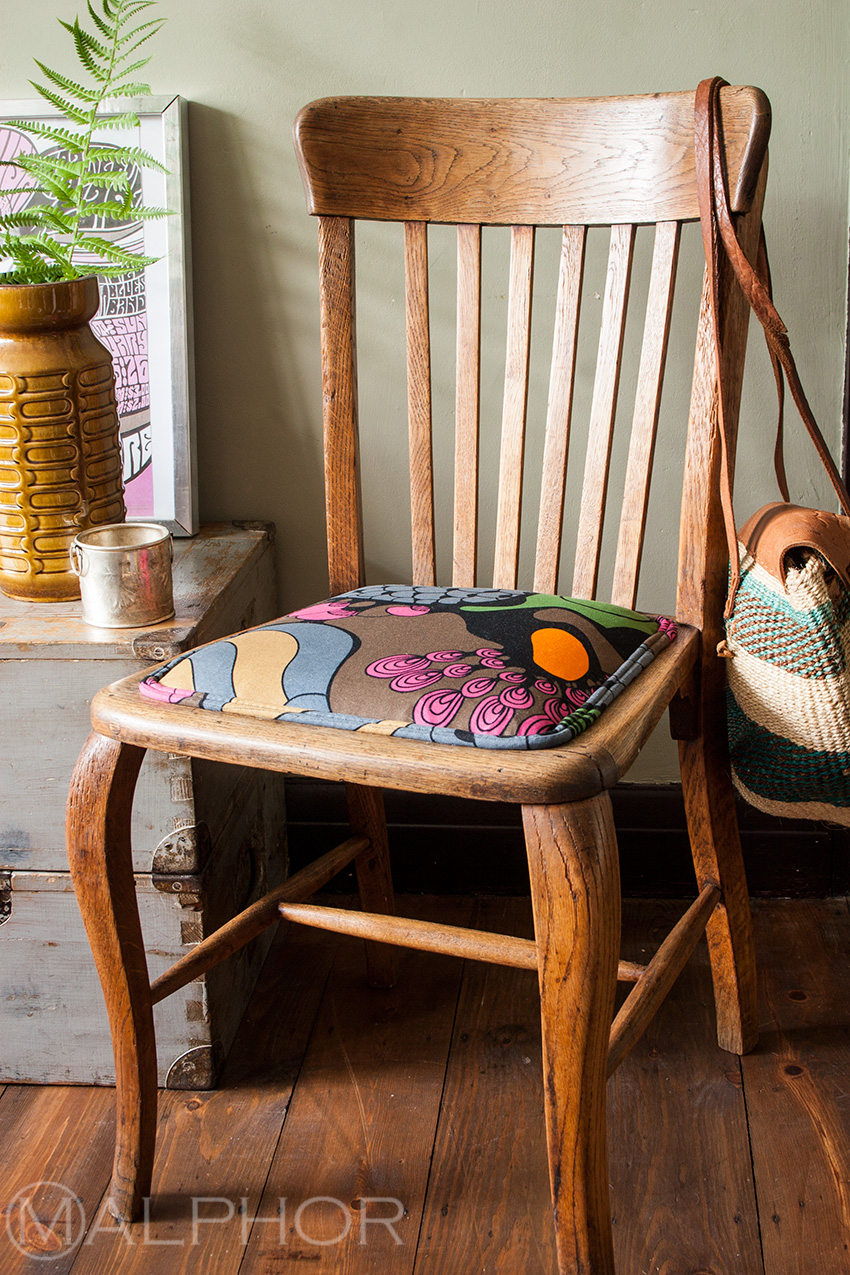
And here it is, finished off with a double-piping trim made from fabric off-cuts and some all-purpose string I had lying around. Using a glue gun to fix the piping on is a good idea here as it will make of a strong bond that will withstand heavy wear. I find mine a good investment and with its two heat settings, I use it regularly all around the house.

It matches nicely the German chair I reupholstered a few months ago. Read about them here and here.
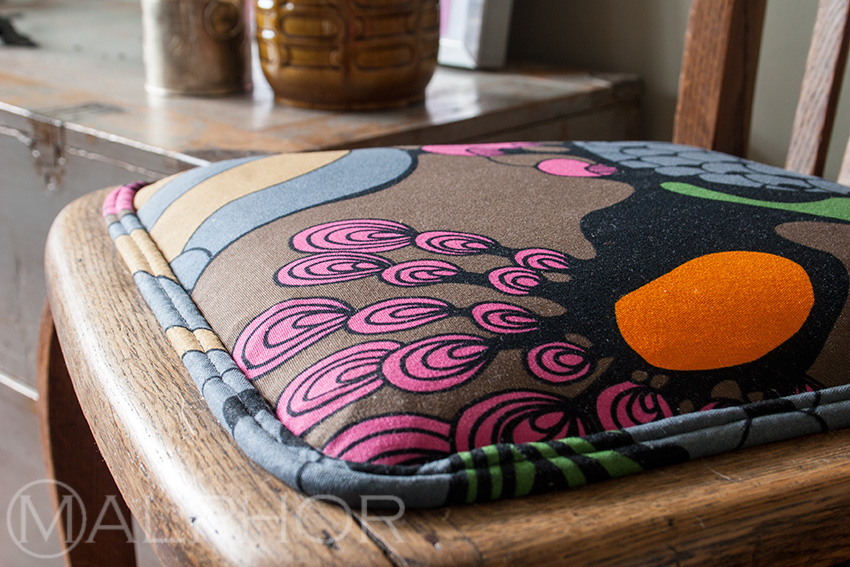
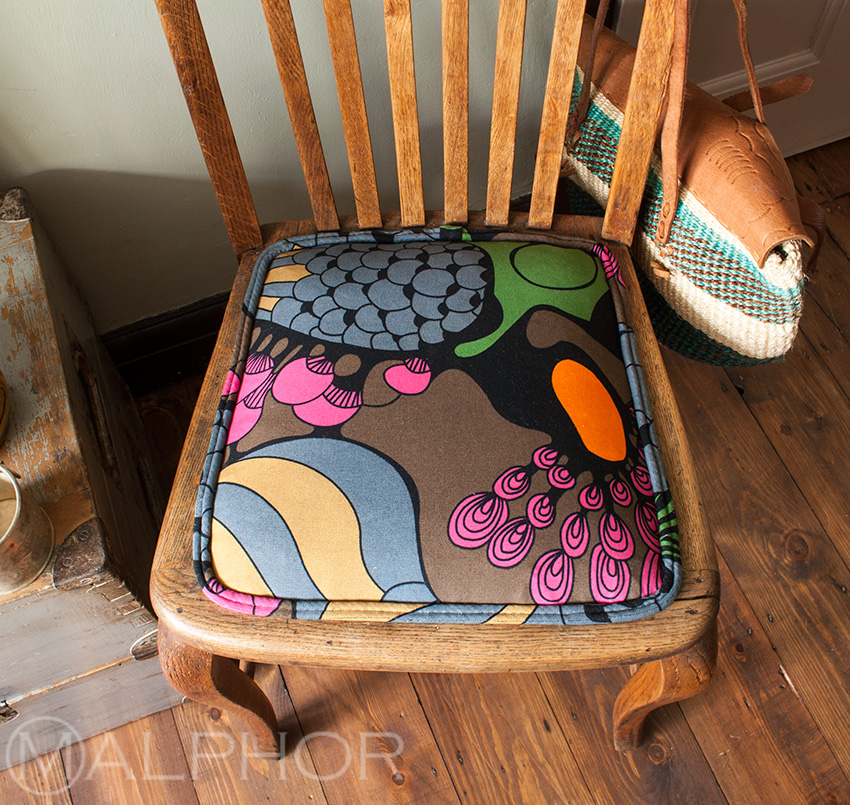
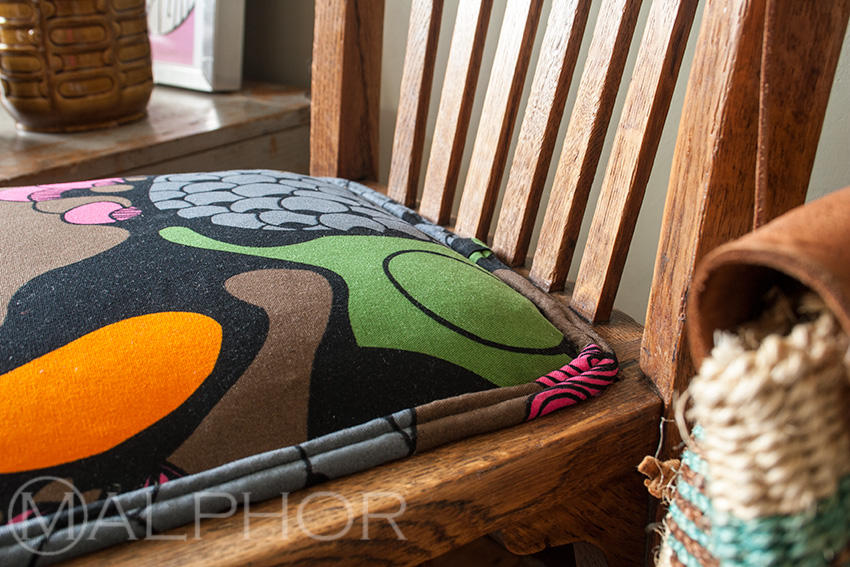
I treated the wood with some bouche-pores (a natural sealer used by the French to save further coats of secondary wood treatments such as wax - I shall try and find out an English equivalent) before rubbing on a generous coat of wax. Here is a very happy chair.
