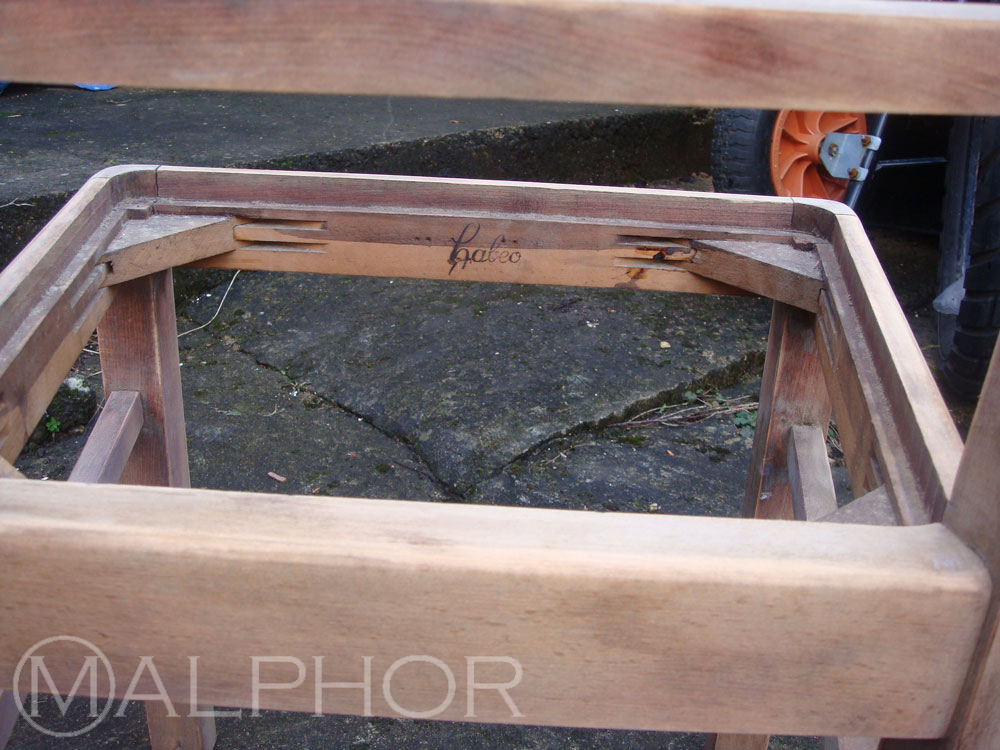
 It is always worth looking underneath a chair to look for any label or maker's mark. I find it interesting to discover more about the piece's history, where it was made, which period, the wood used (which helps me decide whether to paint it or wax for example). In this case, we are looking at a Habeo chair, a make from mid-century Germany.
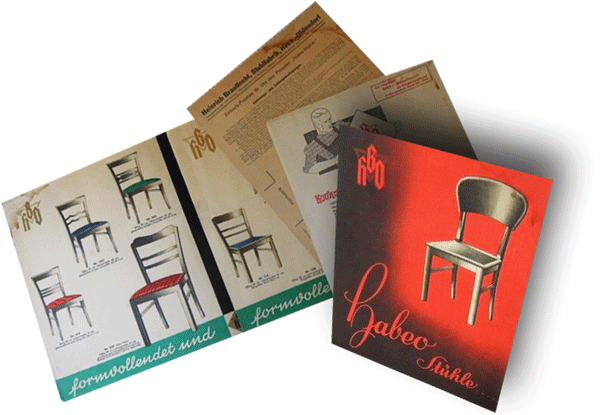
I found this catalogue from 1951 on the internet, which confirms my idea that the chair was late 40s/early 50s.
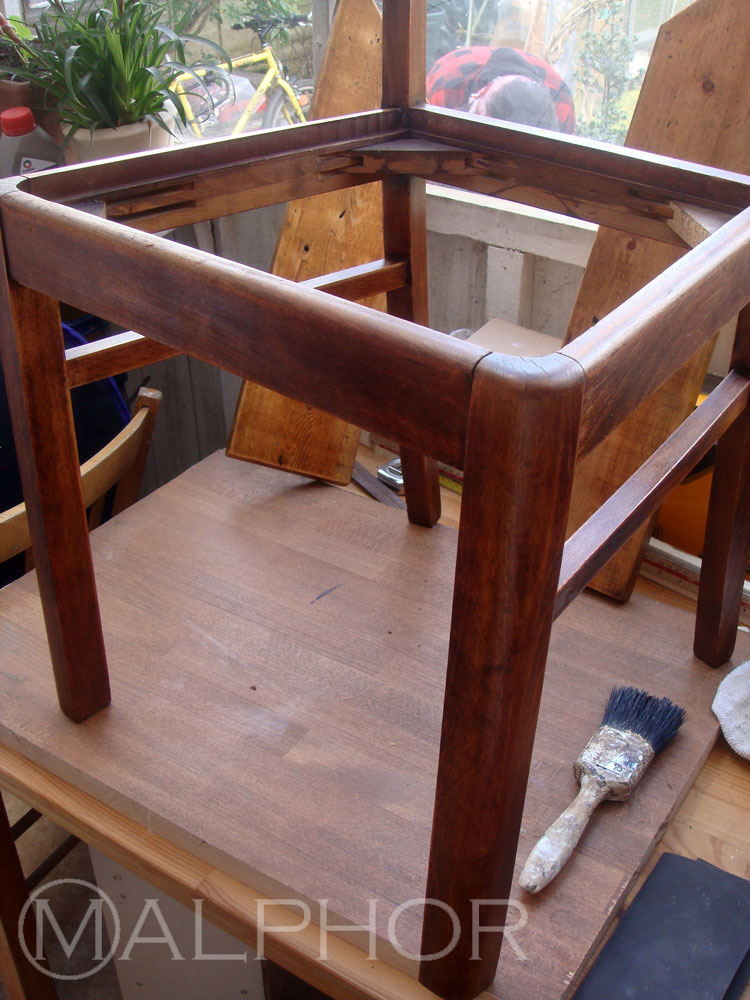
I start by sanding the chair to remove the little varnish that is left and any marks of water damage. Then on with two coats of Danish oil applied with a brush, finished with three coats of natural beeswax to bring out the beauty of the teak. Between coats, I can work on the drop-in seat.
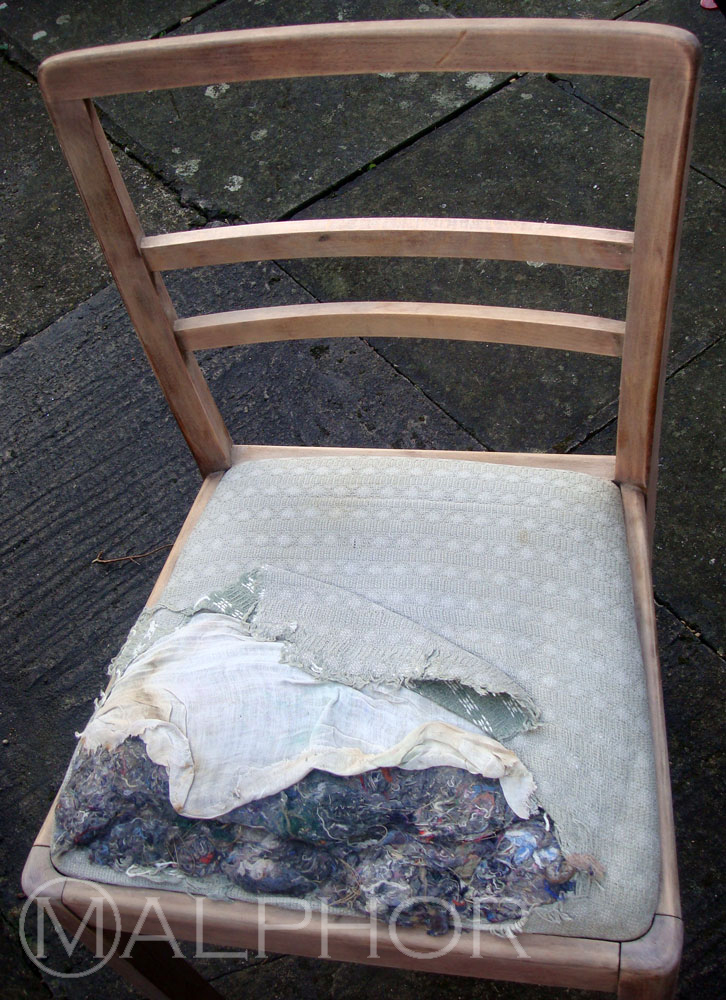
 The seat is in relatively good condition, the stuffing is still present, the spring base is intact, but obviously it will need new fabric. As a rule, I like to re-use as much as I can from an original piece, which serves to preserve its history, is ecological, not to mention money-saving.
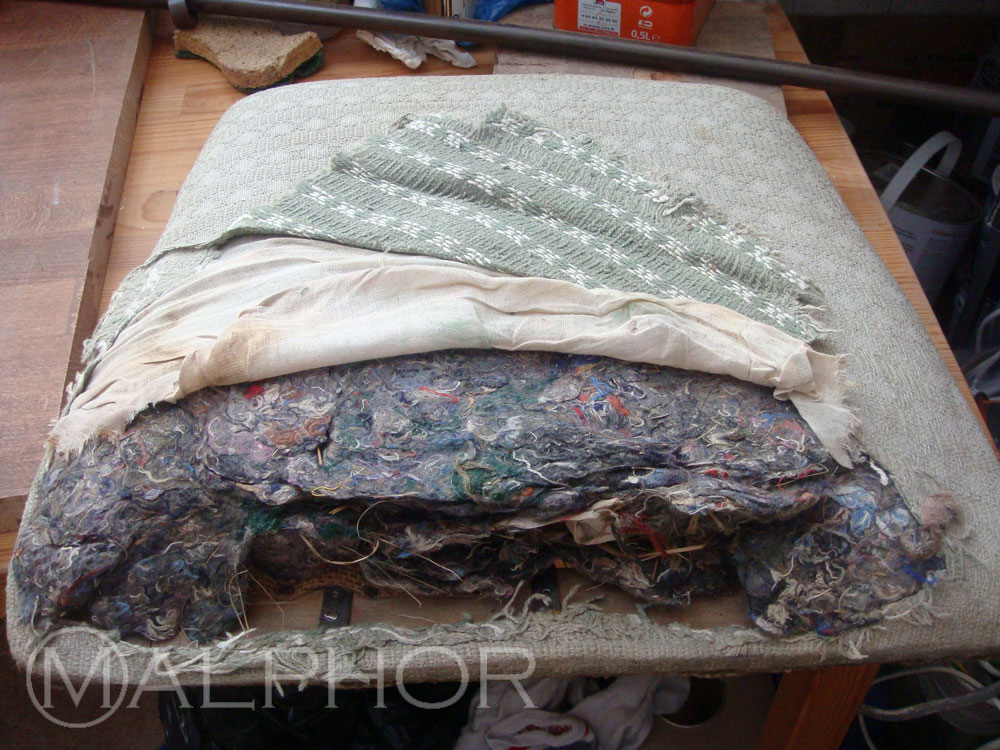
This chair was upholstered traditionally using tacks (rather than staples) and I remove them with a ripping chisel and a wooden mallet. Tacking down is time-consuming and requires brute force, but essential to make room for my new tacks later on. As I 'undress' a chair, I can understand its construction, and I find it useful to take photos at every stage so that I can refer to them when I re-upholster. I keep the original fabric which is going to serve as a pattern for cutting the new cover, and also the stuffing which is good enough to re-use. I am now down to the base hessian which needs to get replaced with a fresh one.
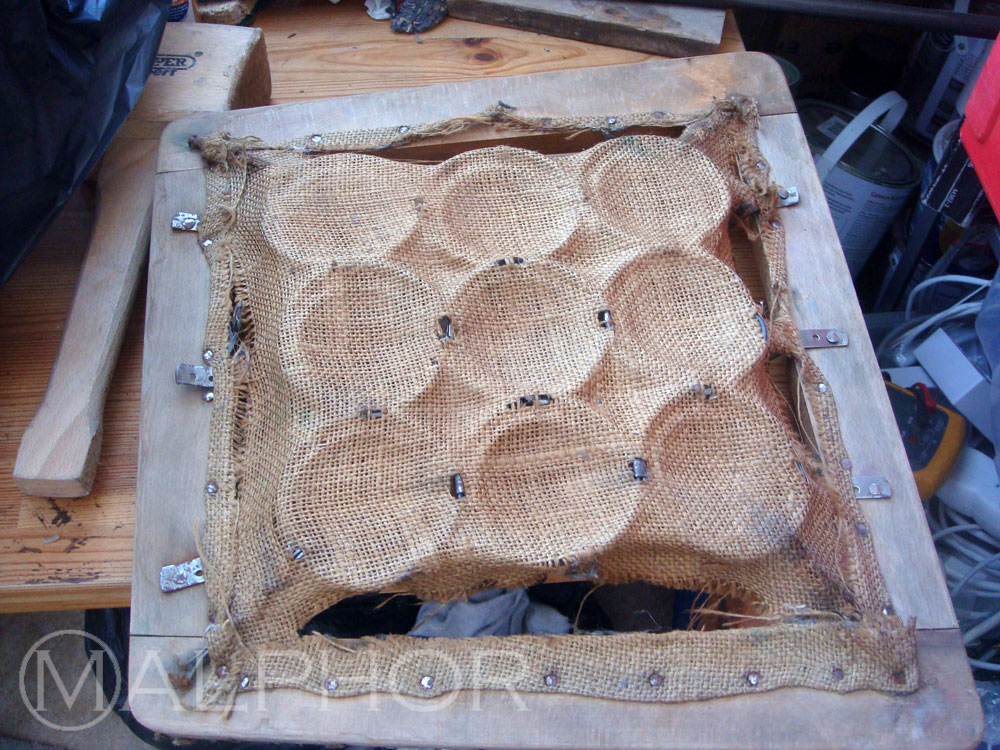
After removing the rest of the tacks and the base hessian, I am left with the frame which I decide to reinforce by glueing a few loose bits and filling with wood filler here and there. The spring base shows moderate rust but is still springy with plenty of life left, so I leave it be.
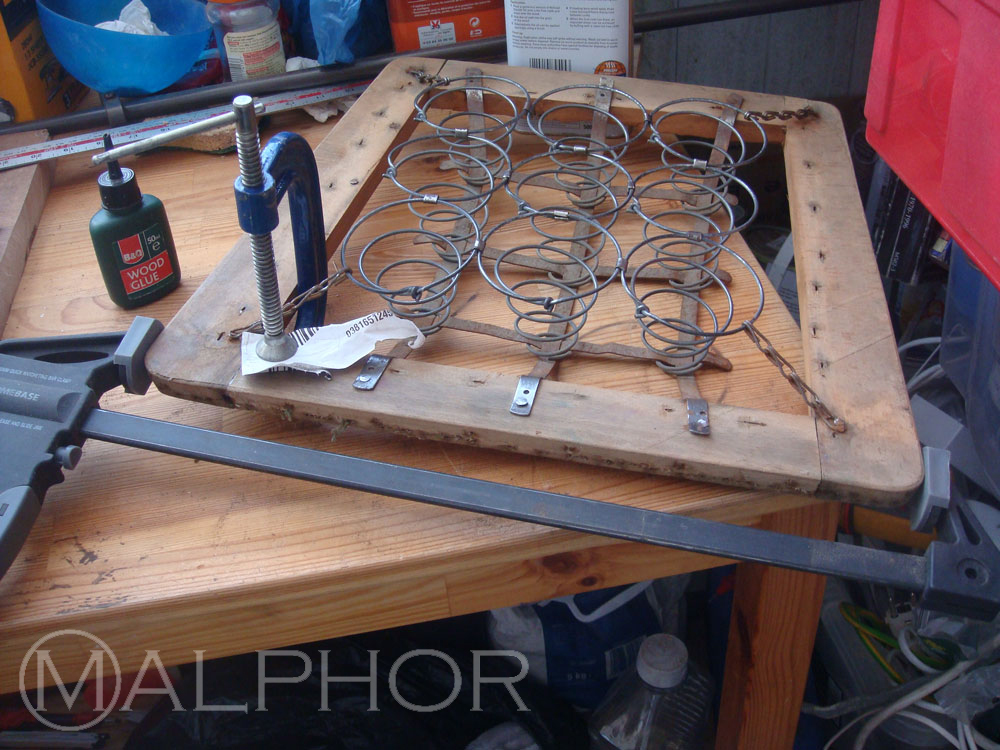
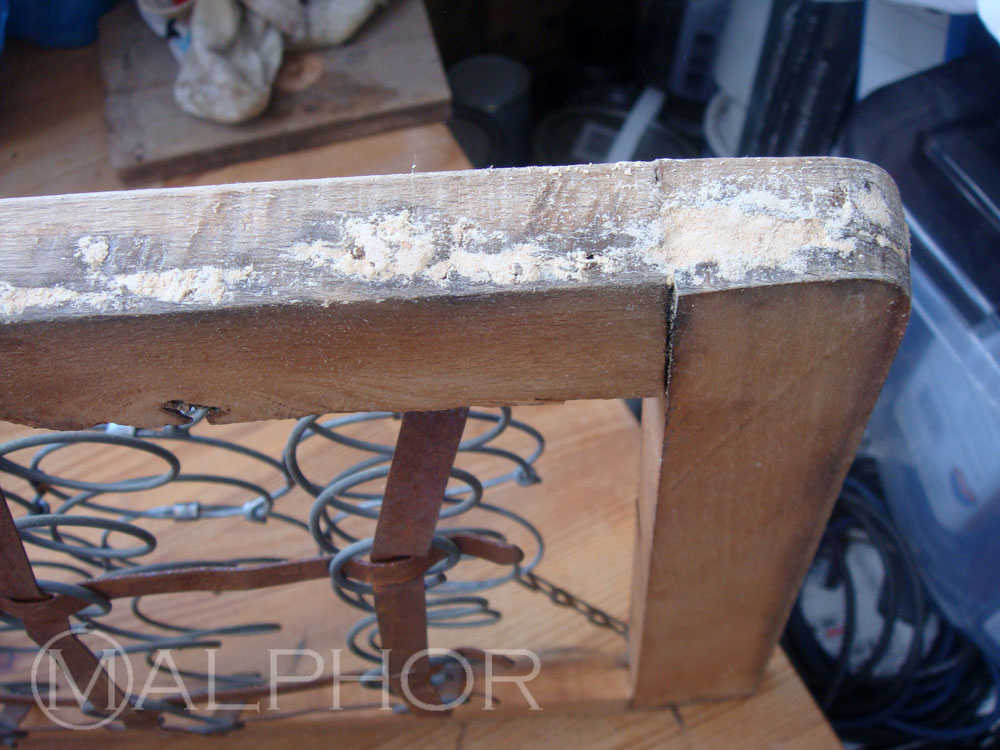 When the frame is ready, I can fit a new base hessian over the springs. I am using tacks in keeping with the original traditional upholstering method.
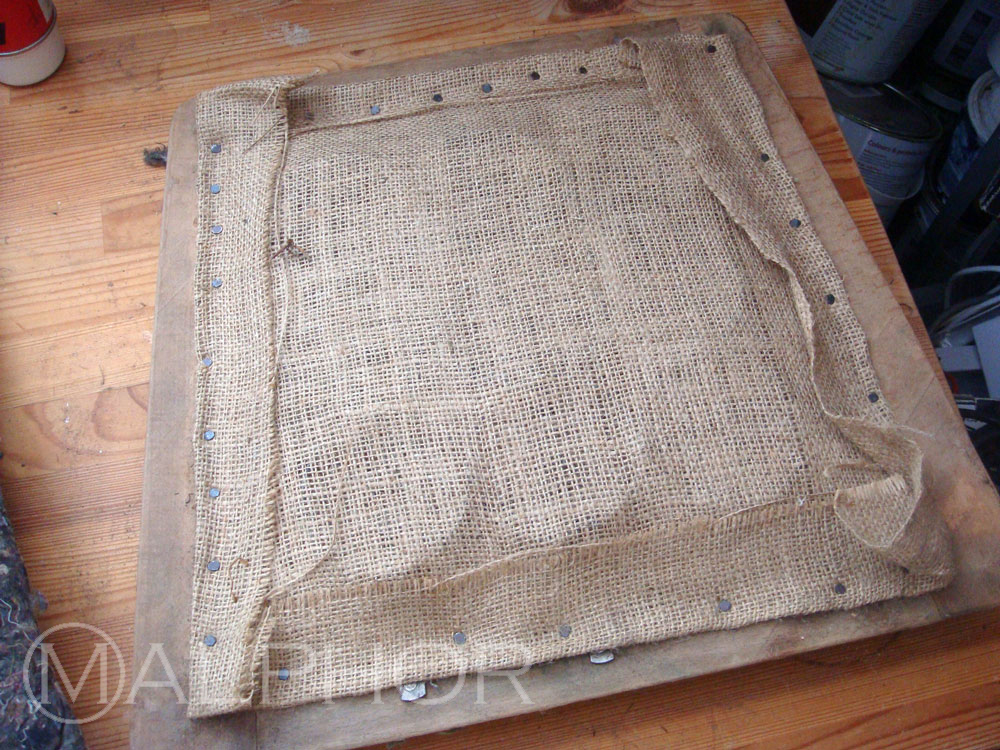
I can now re-position the original stuffing, that will be held into place by a new piece of calico.
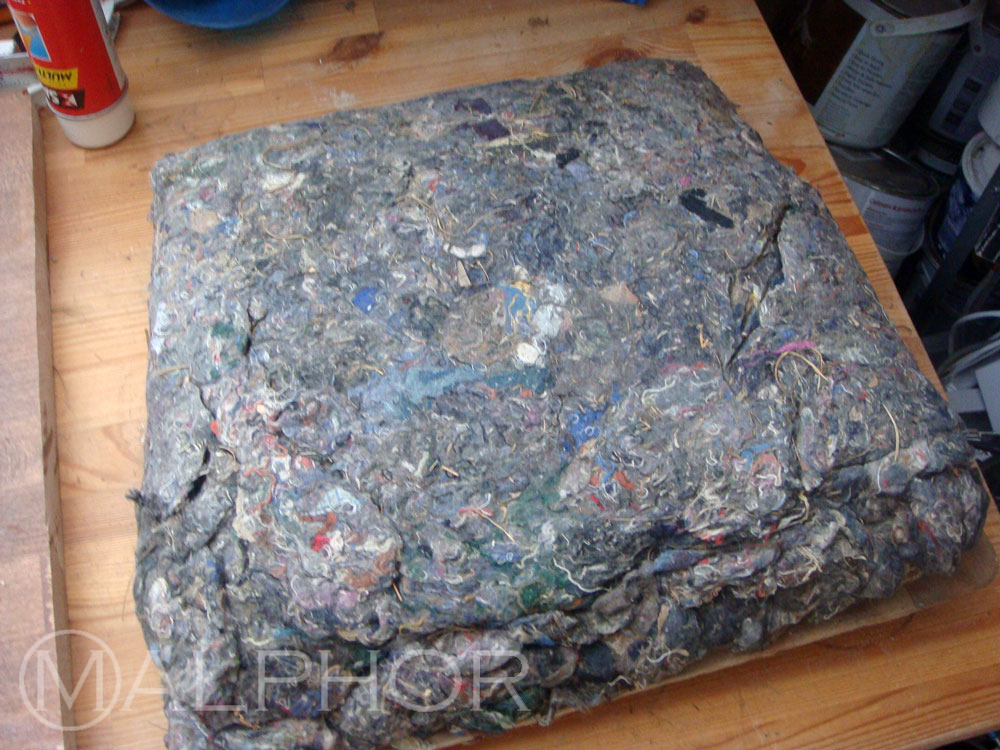
Here is the calico tacked to the side of the frame, holding the stuffing firmly into place.
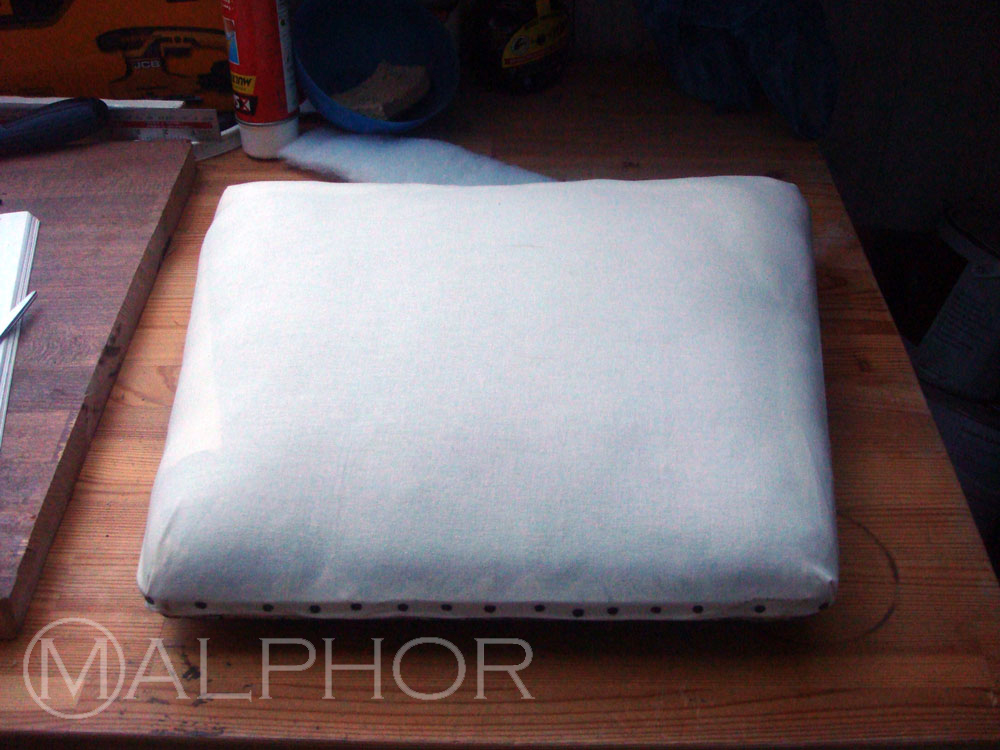
The seat is now ready for some wadding for added bounce and top cover.
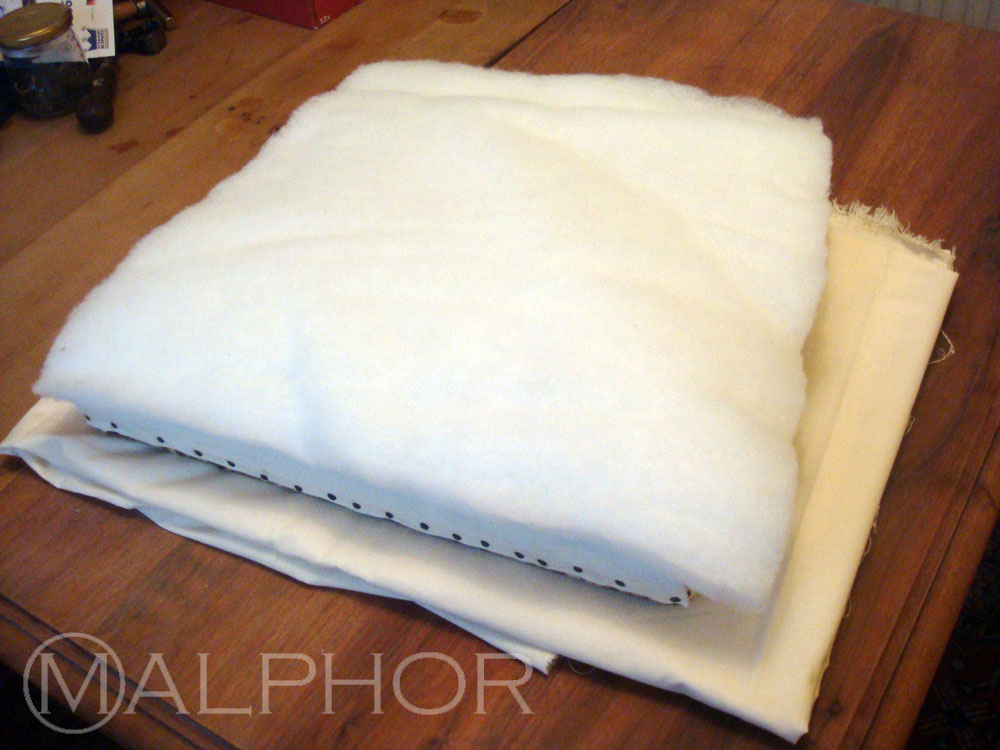
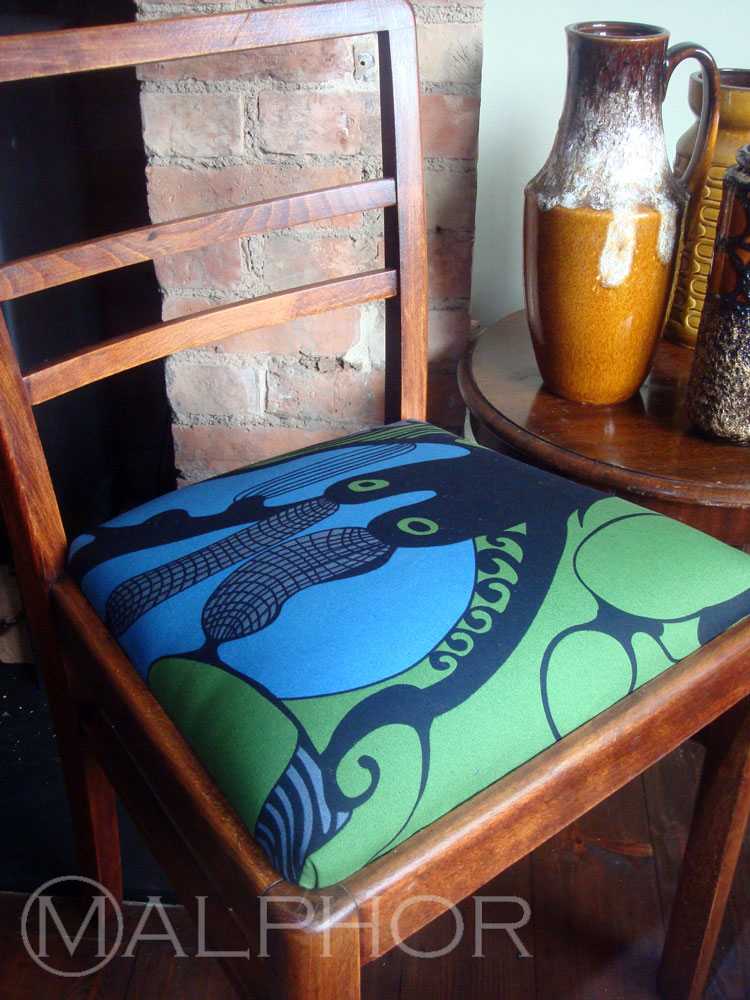
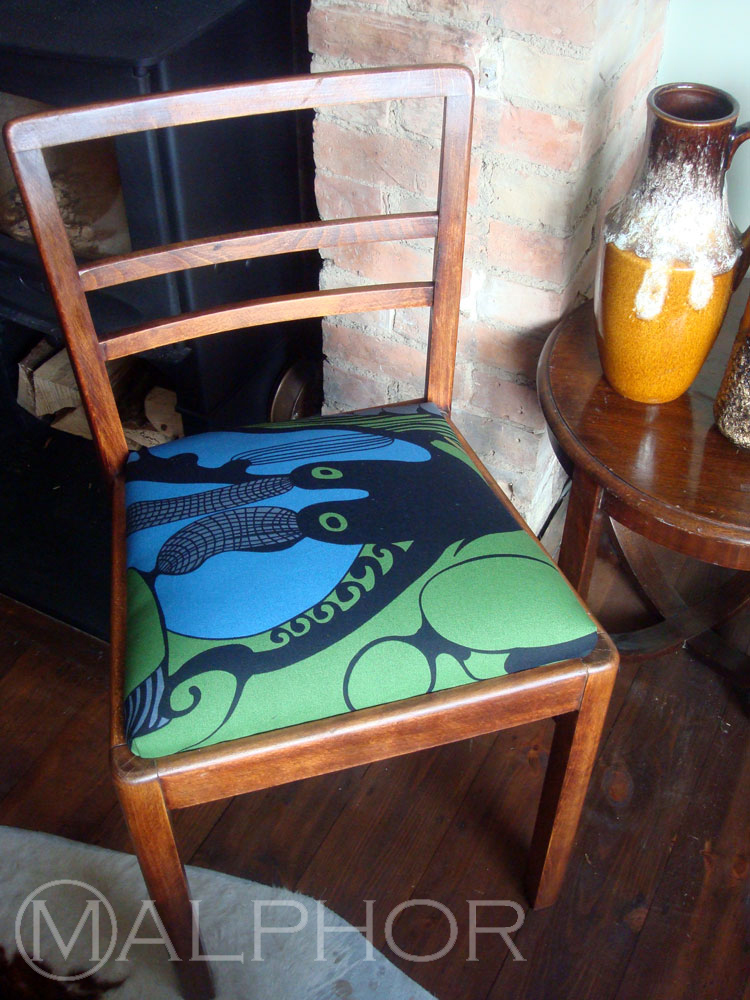
I had a rummage through my pile of fabric remnants and came across this IKEA medium weight cotton fabric I had used to make curtains. It is not upholstery fabric as such and I probably wouldn't use it on a sofa, but it's sturdy enough for dining chairs and will last a few years. In my experience, dining chairs need reupholstering rather often, especially with young kids around. I do love this psychedelic pattern!
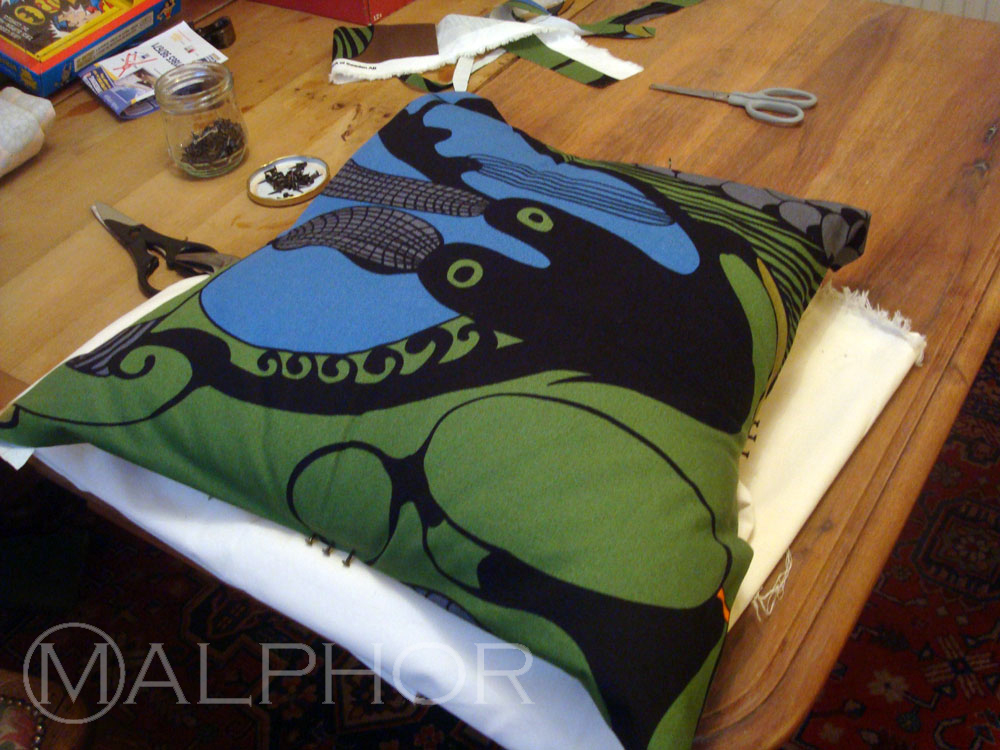
I have enough to cover three chairs. However, the fabric has a large scale repeat pattern which means that none of the seats will be identical, only similar in style. I like this idea a lot and can't wait to get on with the next chair. Picked up on the same day, it is a similar style and will match this one splendidly! Read about The Other German Chair here.
