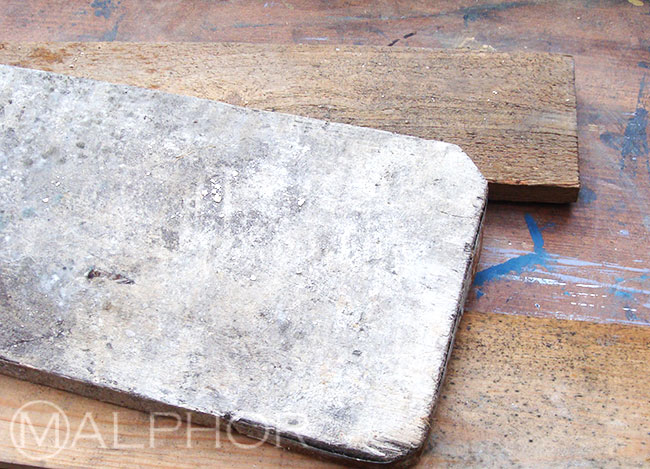
Here are a few of the planks I gathered. Dirty but good enough to upcycle as there are no signs of insect activity and they are not bowed. I'm after an industrial, vintage look so their imperfections will help create the right vibe.
Preparing the wood
It is a good idea to wash the wood with soapy water to remove excess dirt before sanding. Once the wood's dry, I sand the wood right back using a power sander fitted with 80 grit sandpaper to blast the old surface and dirt off (wearing a mask and goggles, not sure where they've been). Then go over lightly with a 120 grit for a smoother finish.
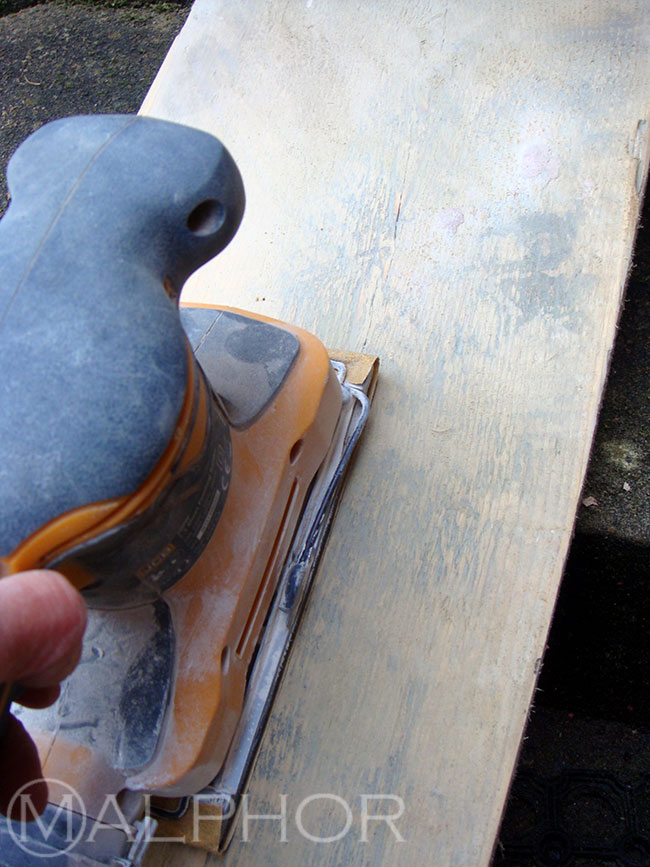
I cut them to size with a hand saw, dust them off with a brush and they are ready for their finish.
Choosing a finish
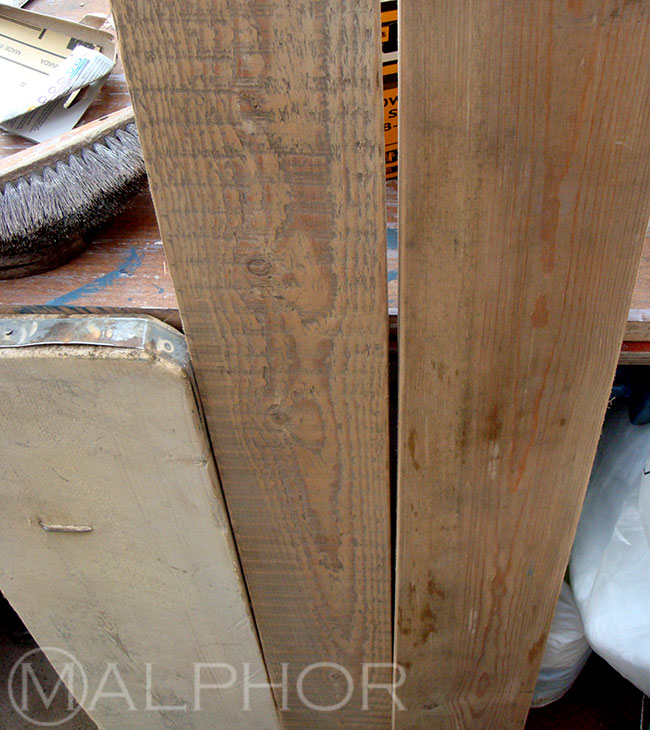
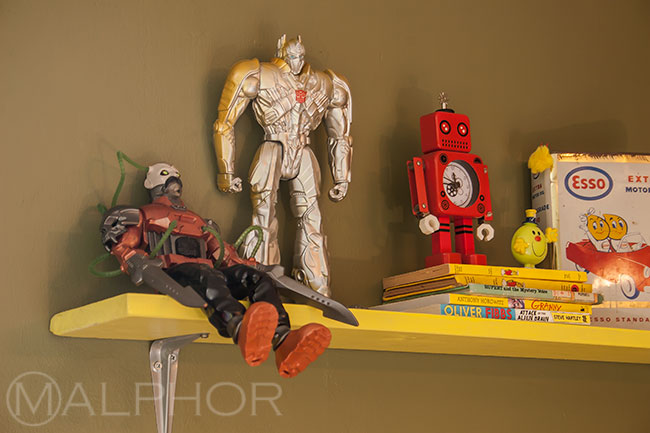
Paint - I put one shelf aside to paint the same colour as the bedroom door in faux Farrow and Ball 'Yellow Cake' - my son had his heart set on it but I bought Dulux 'Summer Breeze' in Eggshell which is a good match and comes in cheaper. But if you can't quite find the colour you're after on their chart, you could use the Homebase in-store scanner to find the nearest matching Dulux MixLab colour.
Natural wood - Adding natural wood elements to painted pieces brings texture to a room. A couple of shelves will be oiled with lashes of Danish oil which will nourish the wood as well as seal it, ready for a coat - or three - of wax. Don't be afraid to saturate the wood with oil. It will absorb just the amount it needs and you can then wipe any excess off with a lint free cloth before it dries.
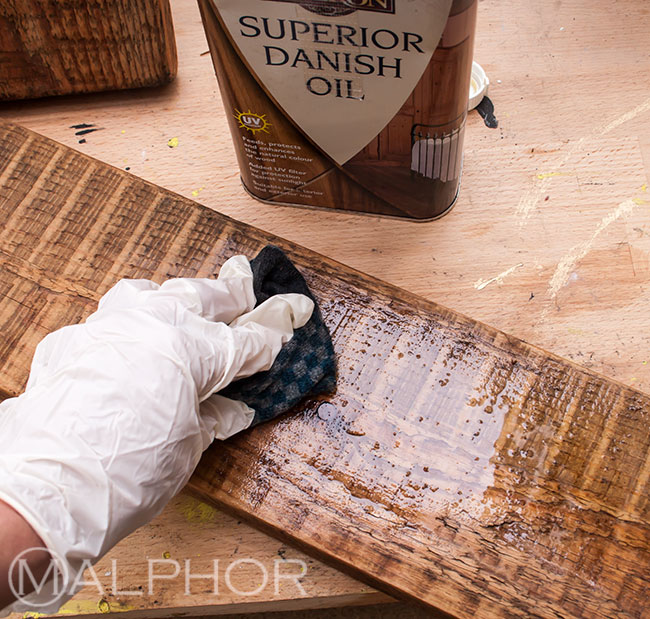
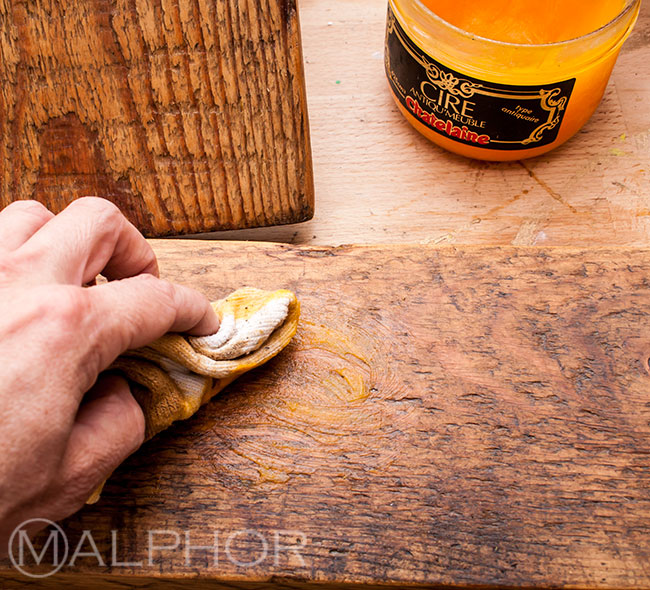
On with natural beeswax. Saturate the wood. Let the wax dry. Then apply more wax, this time removing any excess and finishing with a clean cloth to buff to a shine.
Brackets
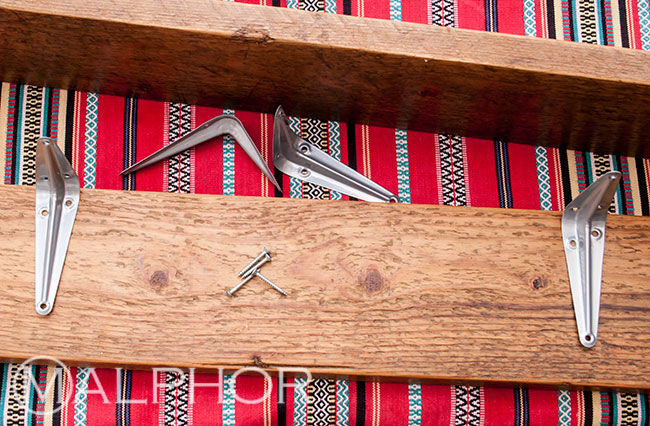
My shelves are now ready to mount and I need brackets. Brackets, knobs, pulls and such, play an important role in setting the mood. These basic brackets found in eBay match the industrial look I'm going for and cost about 60p a piece. Bargain.
I love the dents, marks and patina on the wood, such character.

I place the brackets where I want them and mark the position of the holes with a pencil. I remove the brackets and make punch holes using a centre punch, re-position my brackets and drive in the screws. These are only small screws and the wood is quite soft, so I did not bother with pilots holes. If you need more information on this technique, visit WikiHow website.
Next time, Î'll show you how I fixed the shelves up on the wall...

