So, this is the lounge as we get the keys, hideous, isn't it? Let us get to work and it is not going to be for the faint-hearted! My plan is to do away with the manky carpet, gas fire and 50's mantelpiece and to expose the brick on the chimney breast.

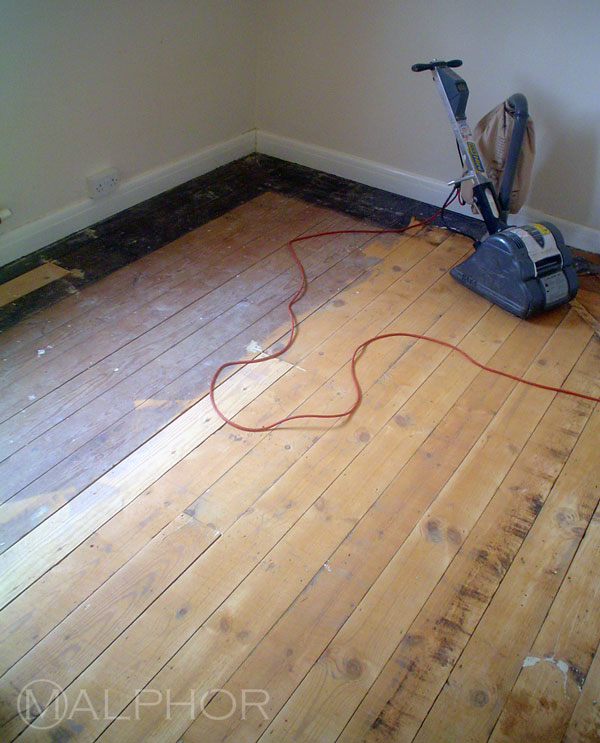
Yes! Under the old carpet and underlay, the original floorboards are in good enough condition to be restored. This is a huge relief, as original wooden floors would contribute to take this neglected house back to its former glory. Furthermore, the cost of laying down brand new floors would have eaten at an already small budget. However, the boards need sanding. Hiring professional floor sanding machines is money well spent to get rid of ancient soaked-in stains and even out the boards, but I have to admit that it is a punishing job and you might want to hire professionals!
I now want to get started on the fireplace. This 1950's mantelpiece is not to my taste and this dated gas fire has to go. Note that gas or electric fires require disconnecting by a qualified tradesman. Because I am dealing with a gas fire, I must call in a Corgi-registered plumber. It takes a while to get an appointment but the fire is disconnected and the pipe soldered off from the system in no time. I have peace of mind.
I remove the plaster and lime render to expose the bricks of the chimney breast. For this, I use a masonry chisel, a mallet and sheer brute force! Bits of render get projected all over the place and the amount of dust produced is phenomenal, so eye protection goggles and a good dust mask are a must. I also wear ear plugs, work gloves, sturdy boots, shower cap and any protective equipment I can lay my hands on! I discover the original open fireplace with the arch of the chimney breast and the metal lintel which tells me the size my opening will be at the end of my effort. As a youth, I watched my father dealing with similar structures, so I know that my opening will be supported by the arched shape of the bricks and the iron lintel supporting them, and that I can safely remove anything directly underneath. Please seek professional advice if you are unsure of what you are dealing with, as a chimney is a supporting feature of a house! Personally, I have booked a structural engineer to come and check my work.
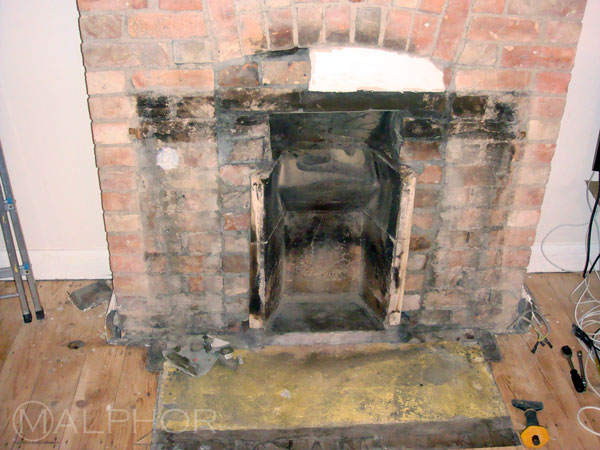
The plaster is off the breast but I still have the hearth to deal with. Mine is a small open fire and I have to remove the fireback if I want the opening big enough to fit a wood burner in. The area behind the fireback is filled with sand and rubble. I continue slowly and carefully with the mallet and chisel but at times a sledgehammer comes to the rescue... When I finally have the opening cleared up, I feel like a conqueror and let out a loud cry of victory. This is soon followed by a knock on the door... My neighbour is standing on the step wearing a big smile, inviting me to celebrate with her home-made carrot soup for lunch! At that moment, I feel extremely lucky to have such an adorable new neighbour, as most would have knocked on the door only to complain at the noise! This is more heart-warming than this fire will ever be.
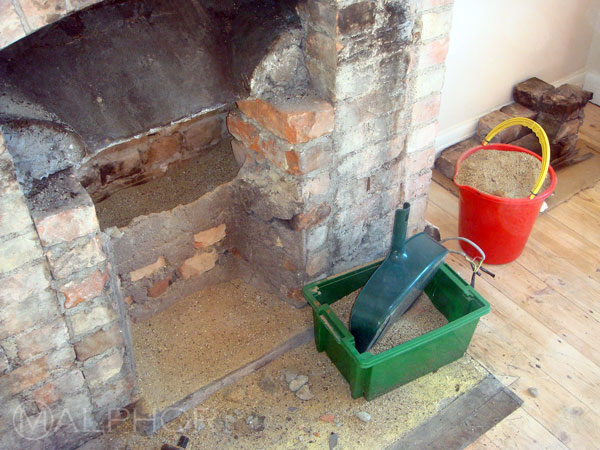
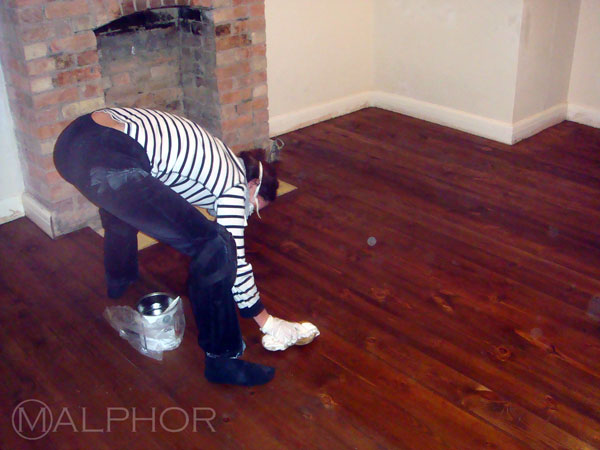
After a lovely lunch and my battery re-charged, I clean the brick with a wire brush and wash it down with water. I shall leave it as is, as a feature in the room. For the floor, I choose Manns Pine Floor Stain in Antique Pine and apply Fiddes Hard Wax Oil in satin as a top coat.
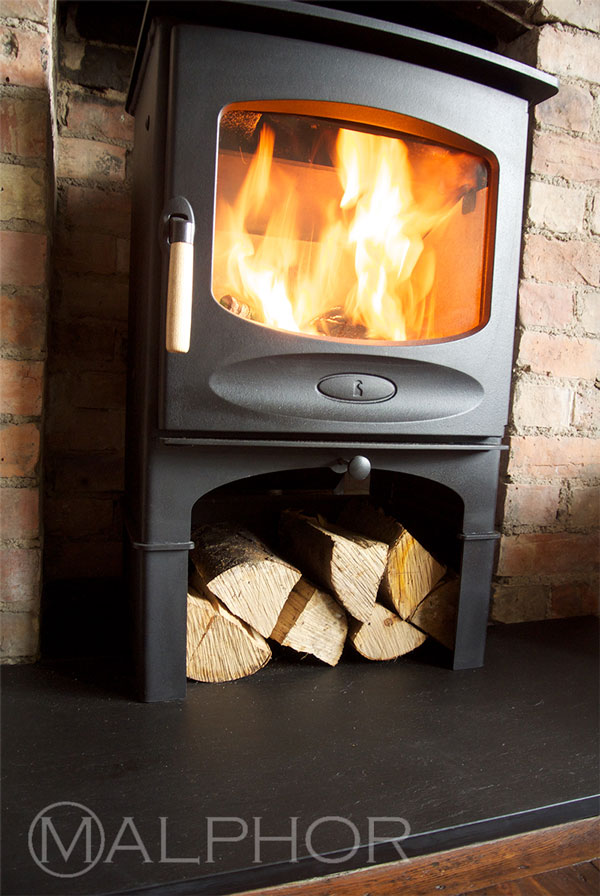
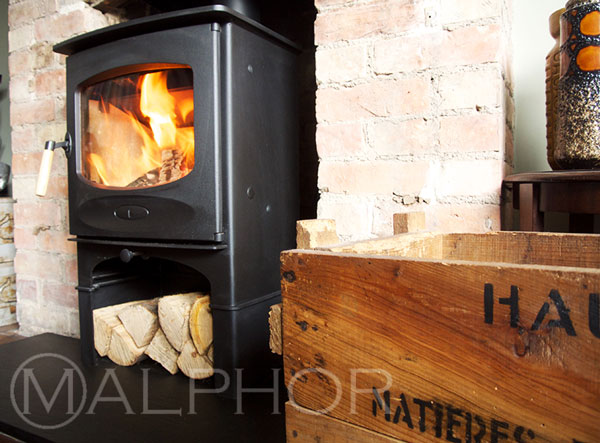
Finally, I have a slate hearth made to measure and a Charnwood wood burner and chimney liner fitted (by a HETAS-registered installer), a must for those cold and damp winter nights. After days of hard graft (it is altogether a nasty job, my back feels broken and despite wearing a mask, my lungs are not thanking me either), here it is, I am so pleased with it. Now I can't wait to build some shelving units on either sides. More on that later...

