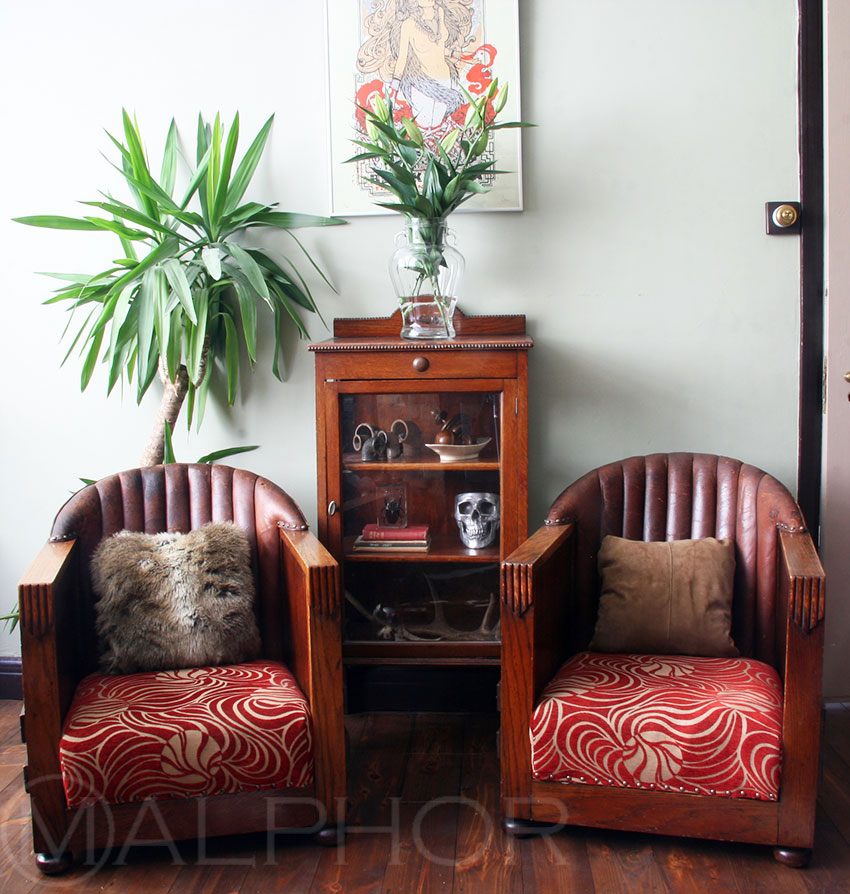
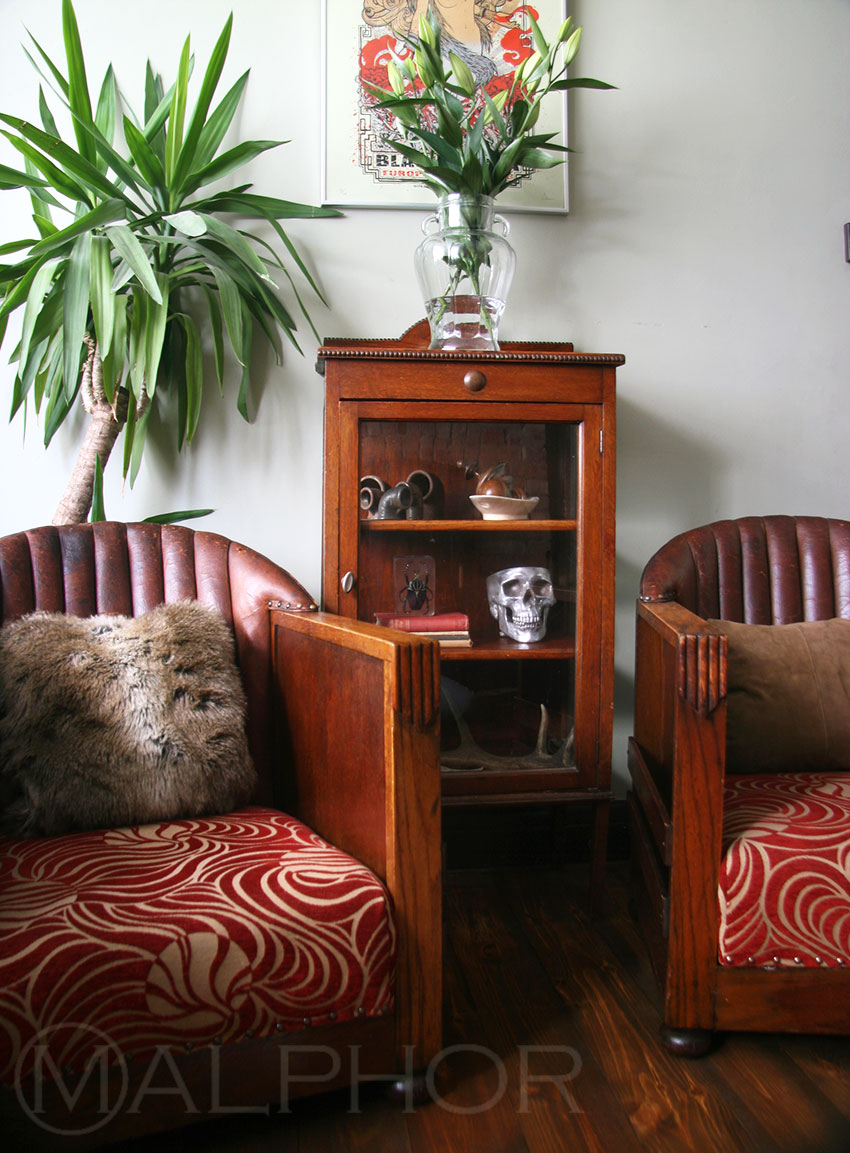
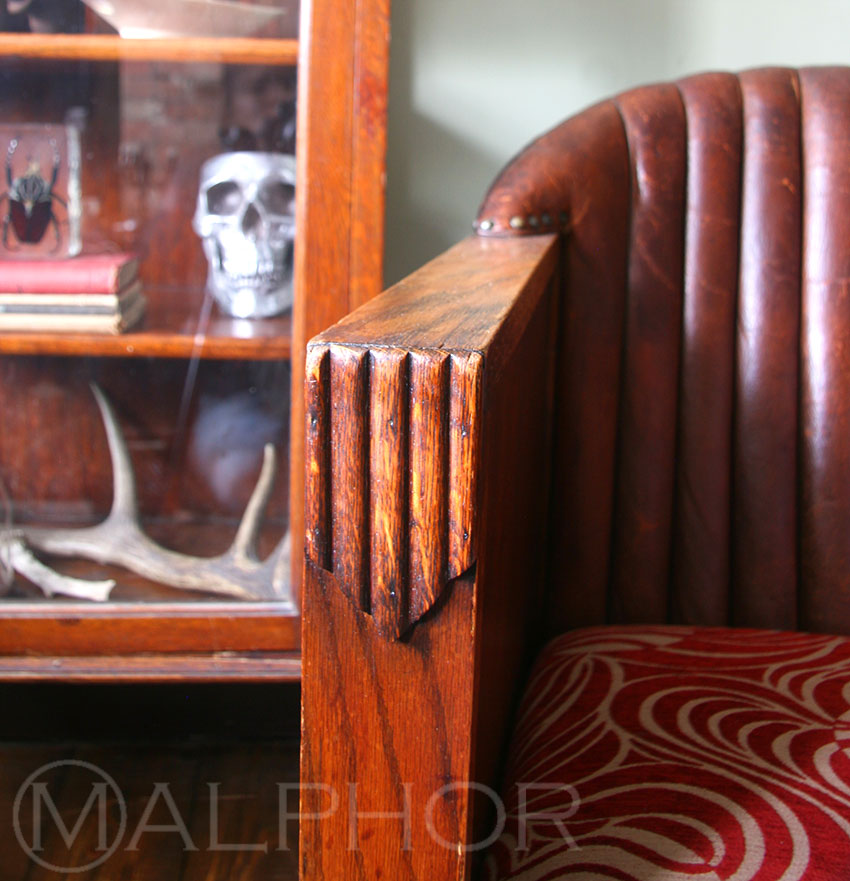
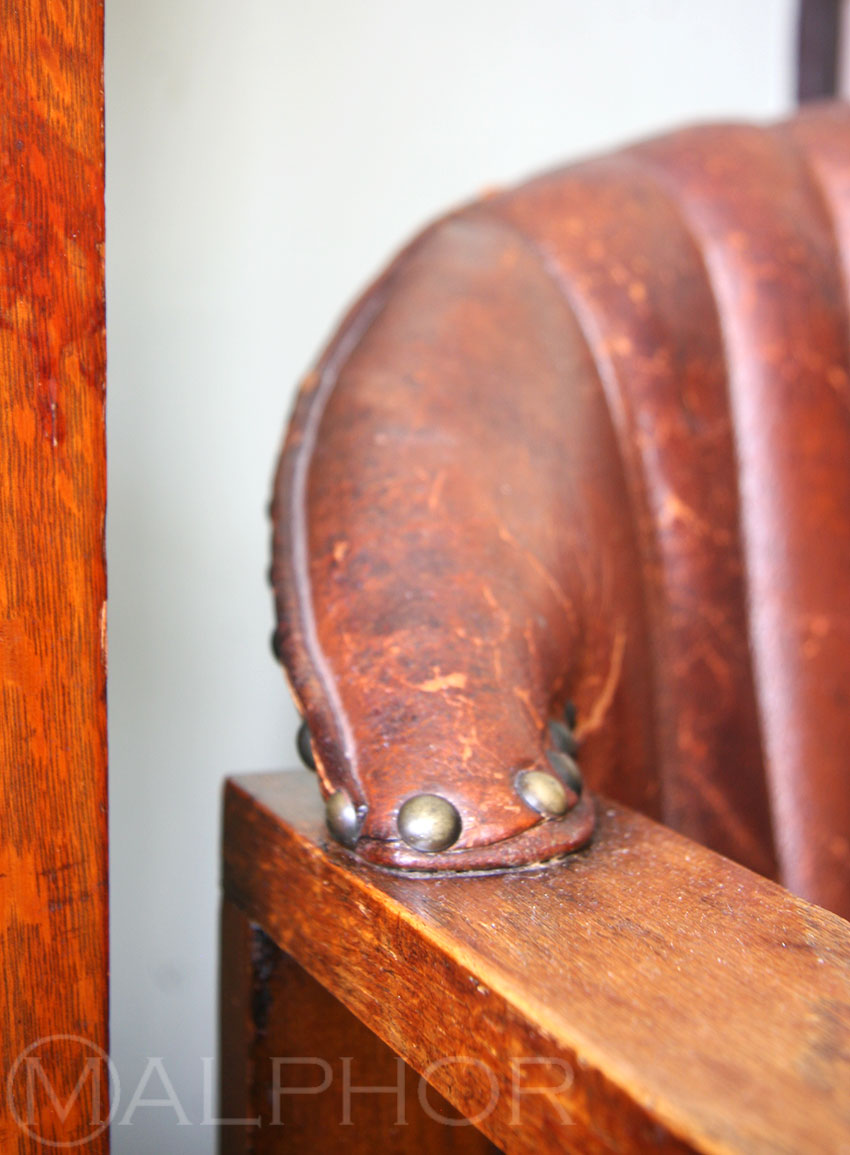
I reached out to a photographer friend of mine who gave me an hour crash course in photography and let me borrow her digital reflex camera for a few hours. What fun! I practised my newly acquired - and extremely basic - skills on a pair of 1930s armchairs I refurbished some years ago.
A few years ago, I snapped this pair of gorgeous 1930s arm chairs on ebay, as I wanted small-sized club chairs to furnish a tiny reception room in our London flat and these were absolutely perfect. There was not much left of the seats and the wood and leather were in a poor state, but their manageable size and gorgeous leather backs made them very attractive.


I started by stripping the seats back to the bare frames, which needed re-glueing at the joints. The springs had seen better days so I decided to re-spring the bases. I tacked the webbing to the underside of the rail, then with stitching twine and a spring needle, I secured the base of each spring at four points onto the webbing. To make sure the springs work together as one unit, the springs were lashed together with laid cord and tacks to the top of the frame.

The base hessian was then fixed and the springs stitched at four points on the top coil, in the same way they were stitched to the base. The base was now ready to be stuffed.

In order to achieve a durable seat with firm edges, I opted for a stitched stuff-over pad. Firstly, I inserted bridle ties to secure the first hair stuffing into place and covered it with scrim.

I then inserted the stuffing ties right through the pad with a double-pointed straight needle.

Next came the edge stitching, compacting the stuffing in a tight roll all around the seat. The bridles ties were then inserted to receive the top stuffing.

The second stuffing was secured with a piece of calico, ready to receive wadding and top cover.


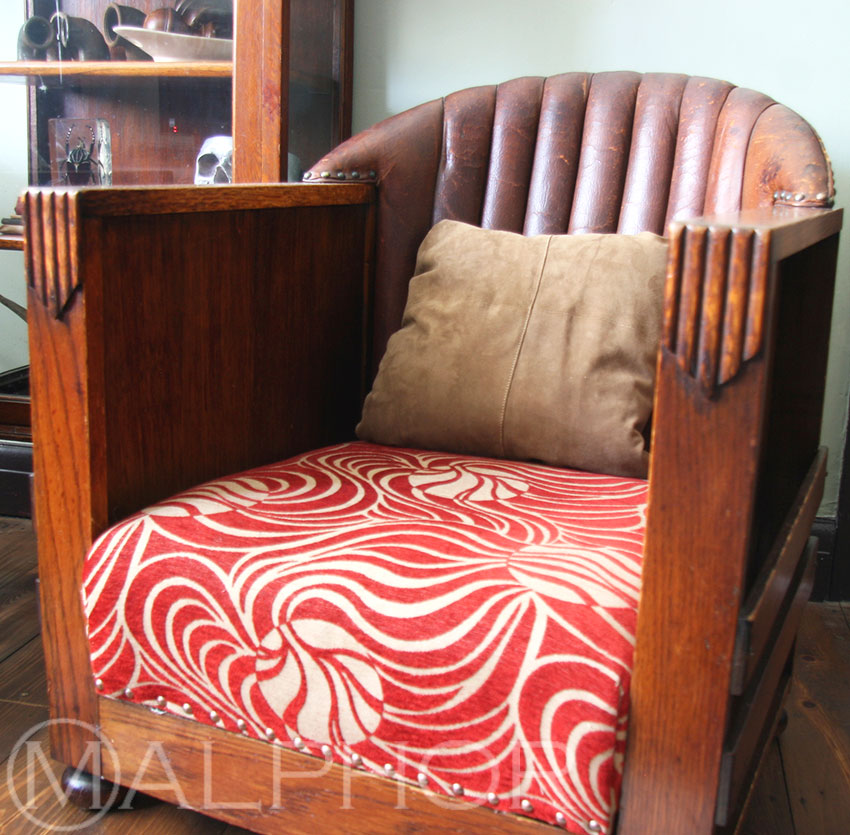
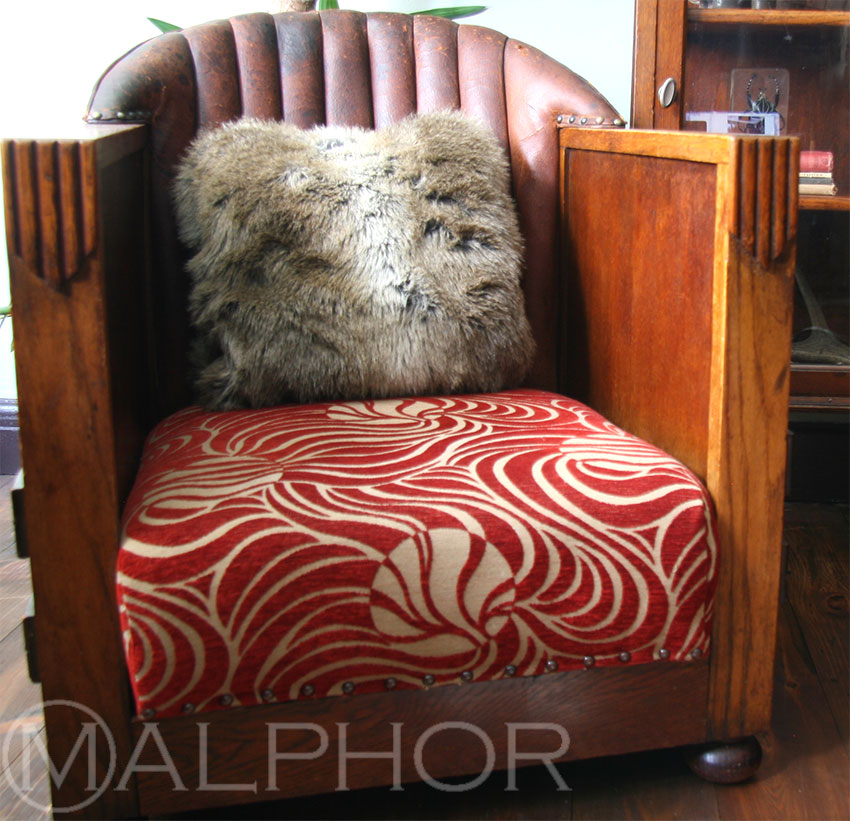
I chose this luxurious 1930s-inspired damask by textile designers Titley and Marr. I used Antique Brass decorative nails for the trim.

The wood had not been looked after and the finish rather damaged. I used a homemade furniture reviver - recipe here - before applying a fresh coat of diluted French polish (by about 30%), followed by two coats of wax. Finally, I applied saddle wax to the leather. They looked absolutely delightful then, and some years later, they have retained their charm. These are the shots I took with my friend's camera, and although I am aware that I have a long way to go before I qualify as a photographer, I am very excited at the new possibilities lying ahead!
