I was given this shabby piece of furniture as the owner had had it for too many years and couldn't think of what to do with it. It had dents and damage to the sharp edge on one side, watermarks on the top and the back was loose.
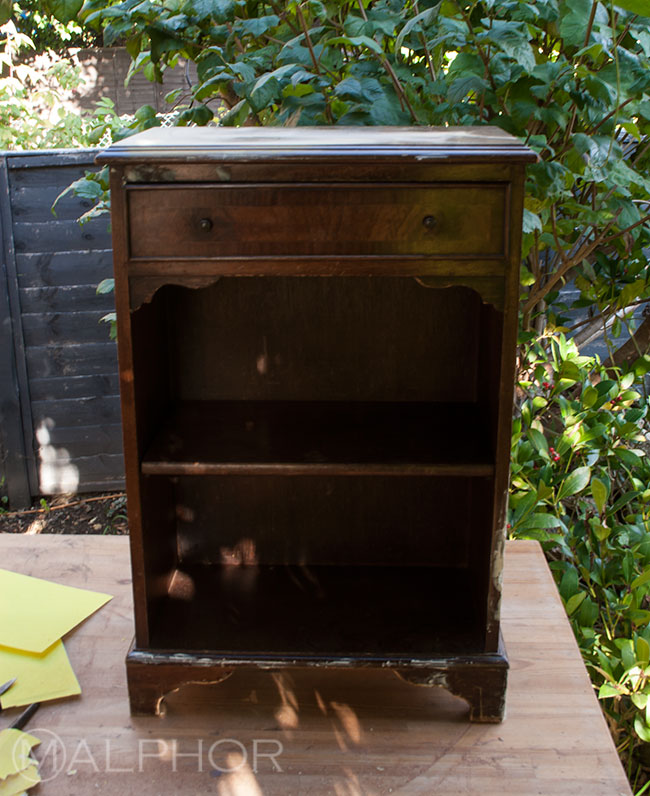
I glued the backboard back on and secured it with tiny nails. To repair the dents and damaged corner, I used car body filler (mine is from Halfords). I prefer this product to wood filler. It is cheaper, dries fast, is rock hard but can be moulded, carved and sanded super easily.
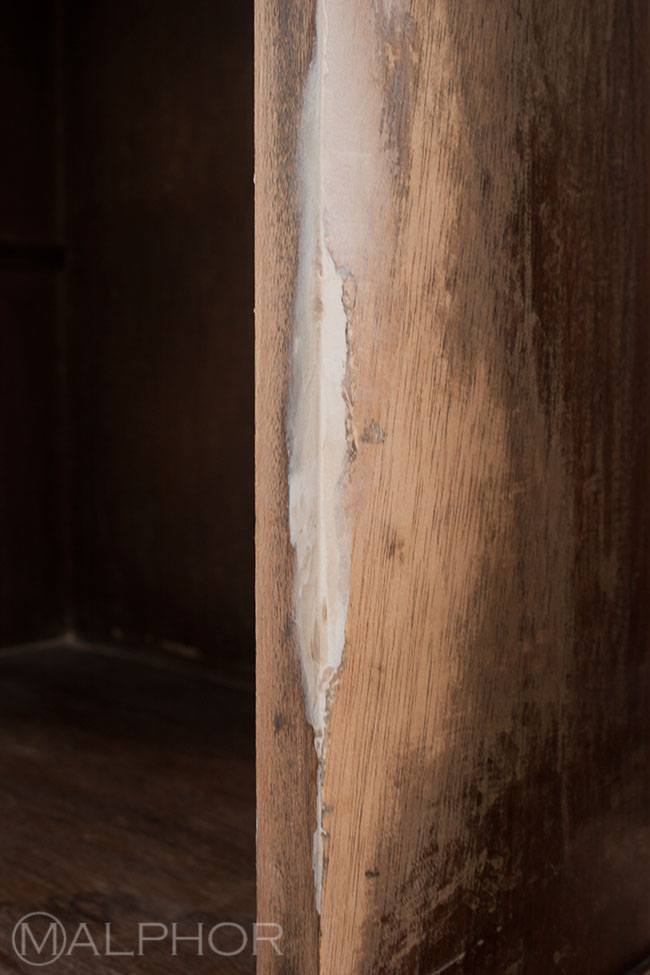
I have to admit totally getting into this job and forgetting to take photos of every single step but it is quite a simple project anyone can do. If something is not clear or you have any questions, do ask - either in the Comments section below or via This email address is being protected from spambots. You need JavaScript enabled to view it..
After repairing the bookcase, I sanded it with 120 grit sandpaper so that my repairs were smooth and to give a good key to the new layer of paint.
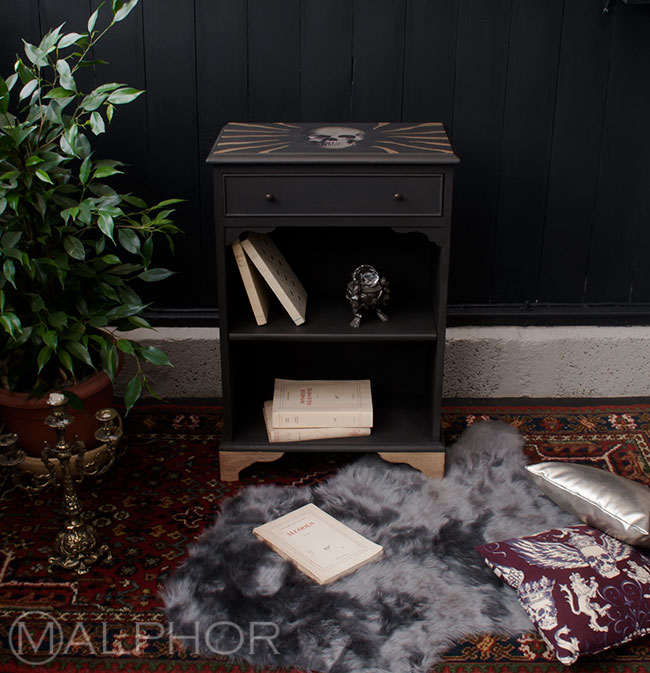
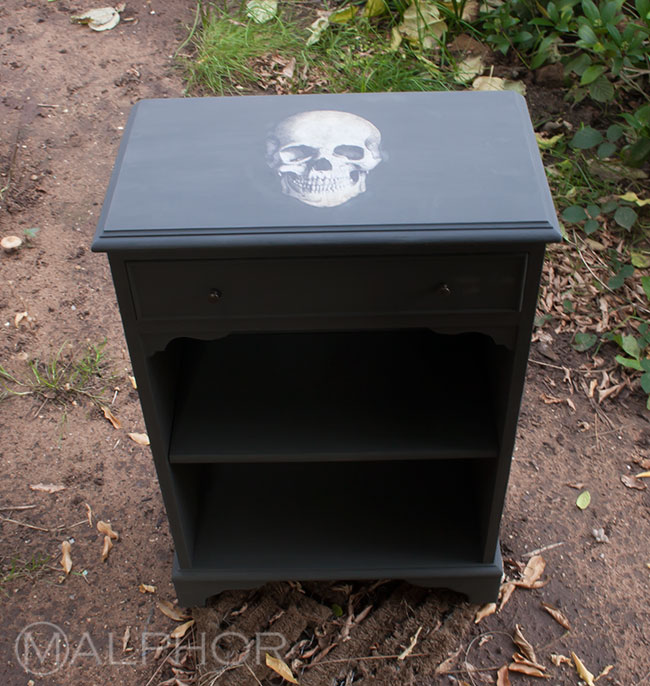
I used one of my favourite paint, Chalk Paint in Graphite but you could use any paint of your choice. I gave the piece two coats.
For the decoupage, I used the top layer of a paper napkin and cut the shape around the motif. I glued the paper skull with thinned PVA glue. You can use an adhesive spray for this or for example, Annie Sloan Image Medium. The advantage the latter is that you can use it to varnish your decoupage afterwards as well, so there's no need to mess with several products.
After laying the thin paper delicately into position to avoid ripping, I smoothed it down using my fingers from the middle towards the edges to get the creases out.
For the gold leaf detail, I simply dipped a brush in gold size and painted zebra-like stripes randomly around the skull, waited 20 minutes or so and applied the gold leaf (I used imitation gold leaf here, which does the same job as real gold leaf at a fraction of the price and let's face it, we are not gilding antique Italian furniture here). I brushed all the gold flakes off. Then varnished the whole piece. To level out the decoupage motif, several thin layers of varnish are required, so be patient and keep at it.
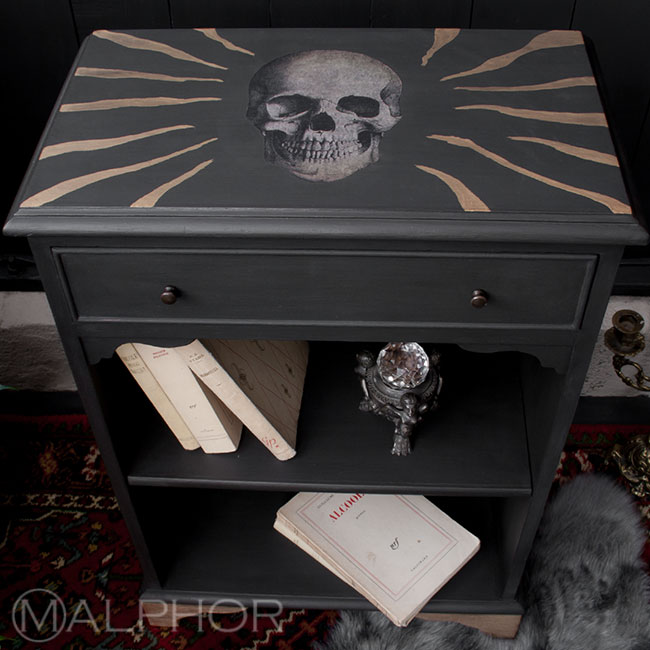
I applied a bit of dark wax to give the whole thing some oomph. I used a dead flat matt varnish so I find that this can take a bit of dark wax on top. I removed all excess wax straight away, carefully as I went along, with a large lint-free cloth so not to have any streaks.
I kept the original knobs which I find are perfect for the piece.
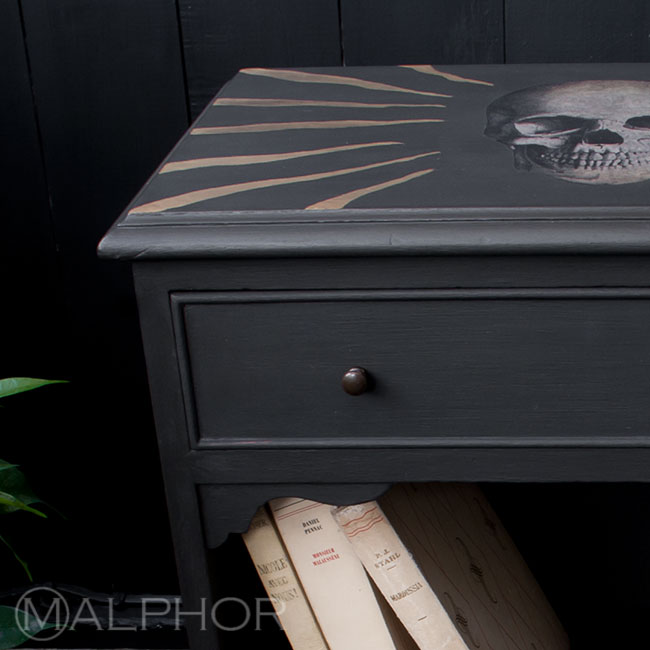
I gilded the base of the bookcase as well to balance things out and give extra glam.
This will find its place on the landing under the window where hangs a deep red velvet curtain and it will keep company to my other, now overflowing bookcase which stands against the opposite wall.

I hope this inspires you. I'd love to see your decoupage projects, so do share them with me on Instagram using #bohorocknrolldecor.

