Emerging from the depths of winter and having survived the New Year resolutions (read about it in my previous post 'Business plans'), I feel more than ready to embrace Spring. I duly completed my Natwest Pre-Accelerator 8-week course, which made me look at the business realistically, defining my goals and refining my systems, I recommend it. And now that I've come to terms with how much work I have to throw at this monster I've created, I'm going back to the fun bits in the workshop. It has been beautiful and mild here in Oxford and I felt inspired to start working on this sweet Moroccan stool that kept trying to lure me away from my accounts package.

And here's the before shot so you can understand why somebody had tossed it in a skip outside a house. As luck would have it, I passed it before it was taken to landfill and knocked on the door for authorisation to take away, along with a few other Eastern delights.

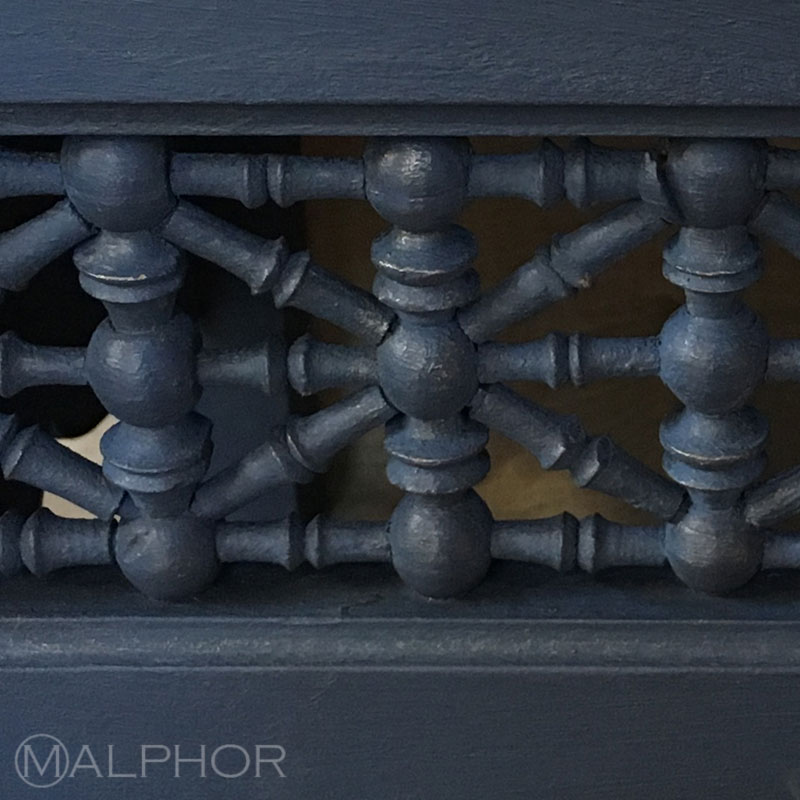
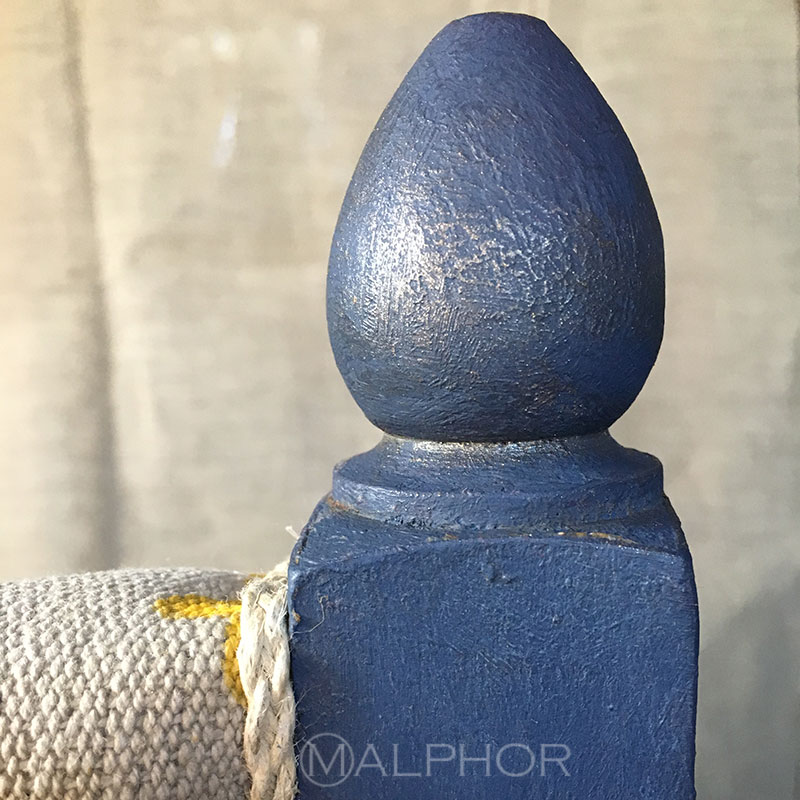
Apart from the obvious flaws, it's a sturdy little seat with great potential. I glued a slightly loose joint and stared at it for a while. First off, you might have guessed, I was gonna throw some black at it and a snakeskin print on the seat for something that would depart from its original style, but then. Blue. I reached for the blue! I've known for a while something was shifting inside me (I've been hard at practising my yoga and started meditation as well) but I really don't like blue. I don't even know why on earth I had a pot of it... Anyway, I did, so I mixed my ASCP Napoleonic Blue with Graphite for a deeper shade. Something like 1 part Graphite and 3 parts Blue. Two coats painted on in every which way as Annie says, quite thickly to add a bit of texture to the paint.
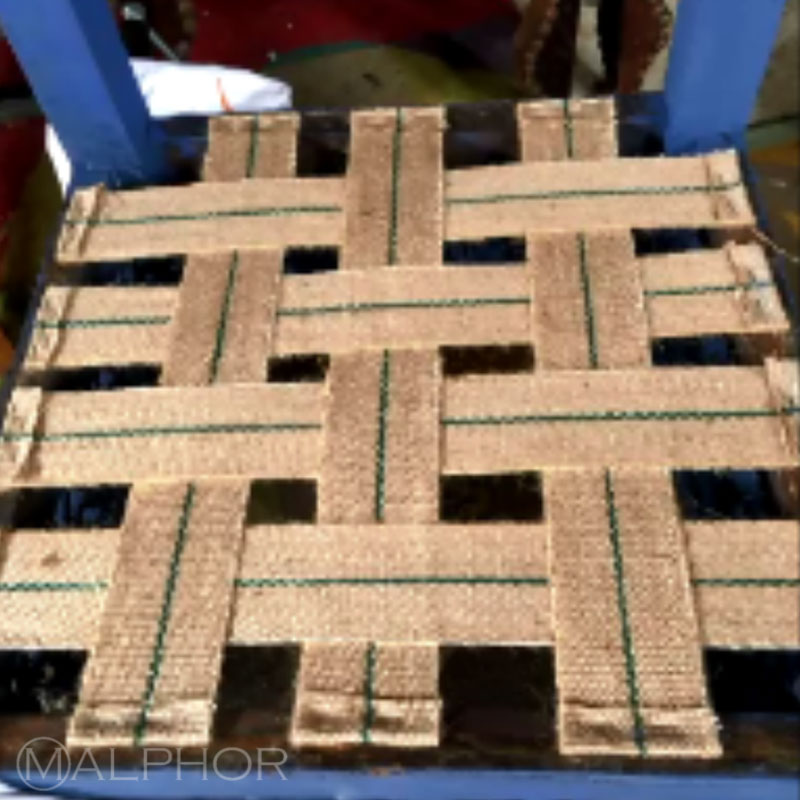
Once touch dry, I stapled the jute webbing to the seat. Apologies for the blurry shot, I worked too quickly, took a film rather than a photo of it without knowing, so all I have is a snapshot of the film... but you get the idea of how to create a weaving pattern with the webbing. Start at the back of the seat, fold the end of your webbing under, 1.5cm or so and staple it to the back rail with 5 staples in a W pattern (like this -_-_- ). Then pull it taut to the front rail, staple it 3 times to the chair frame, cut off 1.5cm longer than you need. Fold the edge under and add 2 more staples (to get that same W pattern). Repeat across. Then from the left side rail, staple a length of webbing and weave it over and under until you reach the right edge of the seat frame. Repeat across each time alternating the weaving by going under and over. Is this clear enough? Perhaps I should do a step-by-step tutorial just for this stage.
Anyway, moving on for now. To finish, cut a piece of burlap 8cm wider and longer than your seat pan. Centre it on the seat, and staple it to the sides, pulling it taut and folding the edges under as you go.

The paint was now dry and I waxed it with clear wax first, let that dry for a couple of hours. Then I brushed some black wax (I used Rustoleum Dark Finishing wax) all over to give some depth and character to the colour, insisting in cracks and corners to create a subtle patina. Tip: wipe the black wax away with a clean cloth as you go, so it doesn't cake or look too streaky.
Now back to the upholstery. I kept the original padding as it was in good condition, covered it in polyester wadding for extra plumpness and secured it with calico, ready to receive the top cover. I stapled the top in place starting with 3 staples at the back, pulling the fabric to the front, secured it with 3 staples. Then 3 staples on each side. I then went back to stapling all along the edges, leaving a 5cm gap at each corner in order to fold the fabric under before stapling it. I just love this cog pattern heavy cotton I picked up in Paris, it really works with the primitive, bohemian vibe of the piece.

To cover up the staples, I needed some trim. I didn't have anything suitable, so I braided some string which I glued to the fabric using a glue gun. I knotted the ends and left a tassel hanging at each corner. I hammered a decorative nail at each corner. On the two front corners, as pictured below, I inserted a tassel of string under the nail to look pretty.

Finally, I dipped a small brush in a pot of gold paint, which I dried on a paper towel (so the brush was almost dry) before dry brushing the gold paint to subtly highlight some of the details. You could dip a finger into a pot of gold wax instead for a similar effect.


As my friend said, "perhaps blue is the new you"! It just works, right?

The chair measures 40x40cm, with the seat height at 39cm and the back at 76cm. It is available at my online Etsy Shop, unless you live locally and you can grab it at the Etsy popup shop in Didcot. Or, if you already have a piece of furniture that you would love to transform, why not give me call to see if I could help you realise your vision?

I am also planning some courses at the moment for those of you who might want to build the confidence to have a go at upcycling. So if you are interested, please fill in my 3-minute online survey so that I have an idea of what everybody is looking for. Thank you!

